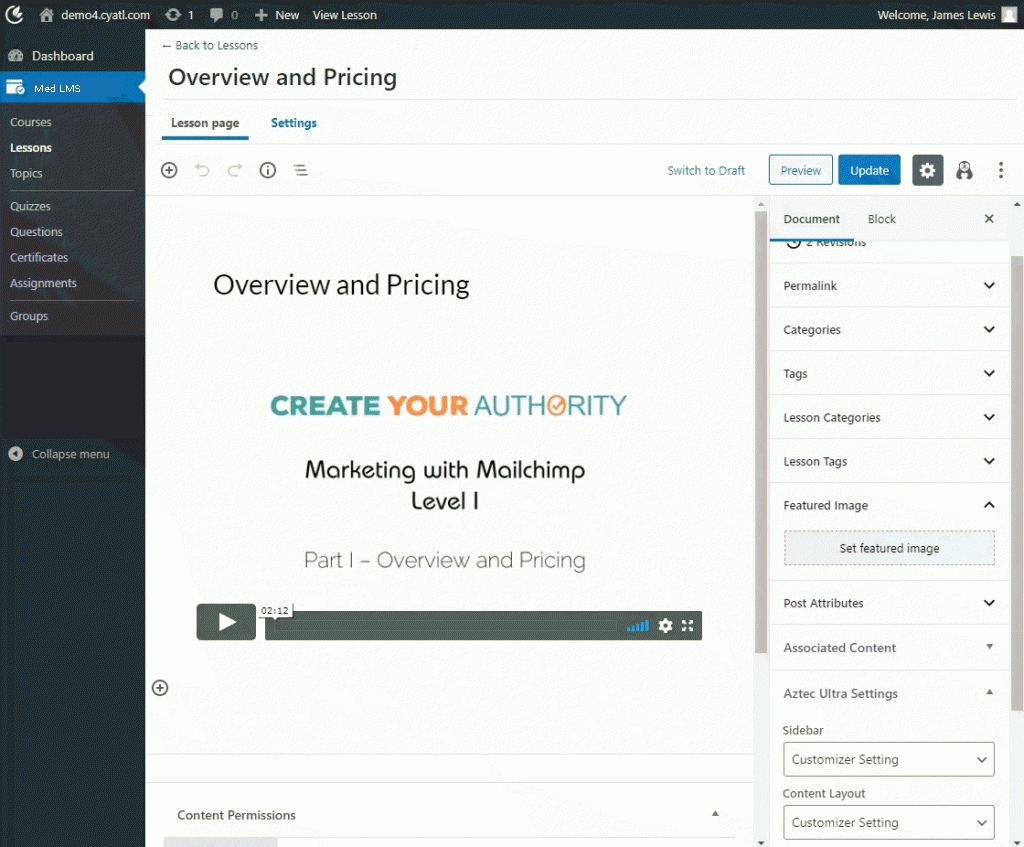
The lesson page content is where you have full control over adding whatever content you’d like to your lesson. If you’ve added topics or quizzes to your lesson, Med LMS will automatically add a list of associated content to the bottom of the lesson page.
The lesson page content you add here is your own custom information that will be displayed above any associated topic or quizzes.
Where to Add Lesson Page Content
Navigate to Med LMS > LESSONS
Click on the lesson you’d like to edit -or- click the Add New button
You will automatically land on the Lesson page tab
You can immediately start adding your content
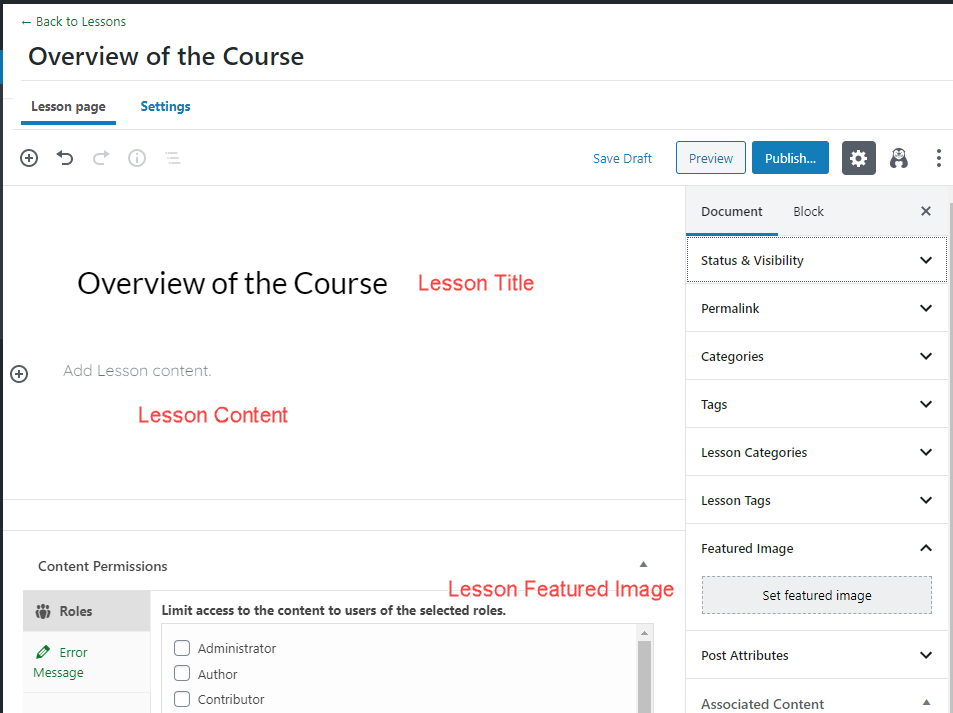
Lesson Title
Your lesson title is the first thing you’ll see at the top of the editing screen. Look for a placeholder that says “Add Lesson title.”
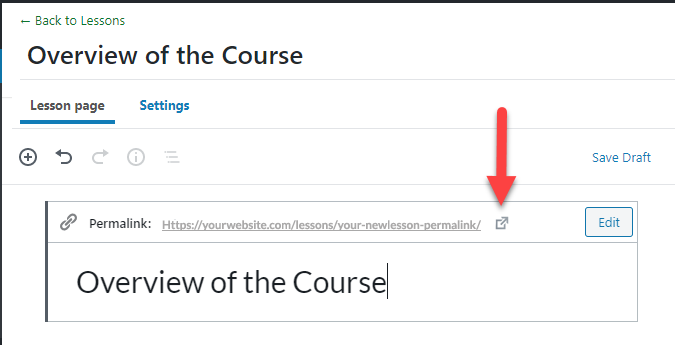
Lesson URL
When you click inside of the “Add Lesson title” box, you’ll see an area appear above, labeled “Permalink.” This is your lesson URL.
The first two parts of the URL are not editable. They are determined by your site’s domain name and the lesson slug you have chosen (which will be /lessons/, ).
In most cases, the permalink should be a reflection of your lesson title.
Click the “Edit” button next to the permalink
Type your new permalink
Hit Enter, or click the Save button
NOTE If your URL looks different than above, it’s because you’ve enabled shared course steps. You can still edit the final part of the URL. Learn more about shared course steps »
Lesson Content
Everything below the lesson title is a blank canvas for you to add your content.
Add text, insert images, embed videos or other multimedia content, link to PDFs or audio files… the possibilities are endless. You have full control over the type of learning experience you deliver to your users.
Featured Image
The featured image is the main image associated with your lesson.
Look for the Featured Image panel in the sidebar
If it’s not already open, click on it to open it
Click Set featured image
Choose an image from your Media Library, or upload a new one